5 Steps to Removing Unwanted Wallpaper
As you frequent different businesses or visit your family and friend’s homes, there’s one thing you can almost always count on, you will see some type of wallpaper or wall covering on a wall! Wallpaper is an interior wall finish that is found predominately in high traffic areas in commercial spaces such as office building corridors, hospitals, hotels, banks as well as residential spaces like our homes. In the late 1900s wallpaper grew immensely popular due to the creative designs it came in, its durability, and how easily it could be cleaned. Now you may be asking yourself, those all sound great, so why would I want to remove my wallpaper?
Wall paper is removed for many reasons. As a commercial painting contractor, we find many of our clients are removing the wallpaper, predominately because of mold issues. Other reasons include the wallpaper being outdated, hard to patch, or frequent tenants moving in and out of spaces with different branding needs. If you are experiencing one of these issues with your current wall covering and are wanting to remove it, understand there is a tedious process to go from wallpapered to “smooth”, freshly painted walls. Lucky for you, we have a proven 5 step program for you to follow!
Steps to Remove Your Unwanted Wallpaper:
Remove the Wallpaper:
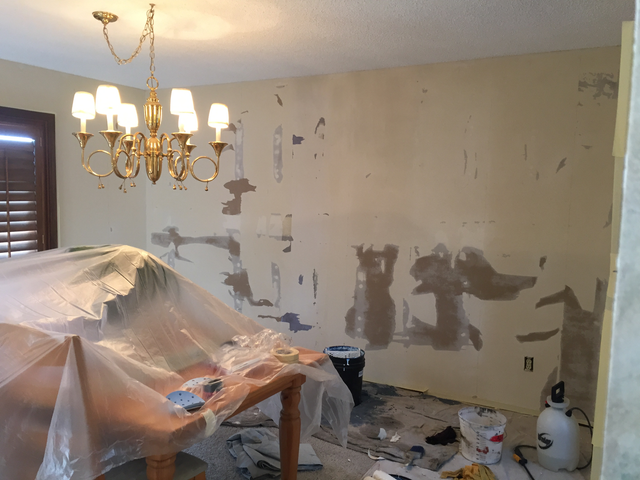
 Remove the Wallpaper: This step is going to tell you very quickly if the job is going to be a nice, easy process or a long, tedious mess. When removing the wallpaper, it’s best to start at a corner or find a seam that is coming loose. Once you get it started you will then need to find the best technique to pull it off without ripping it. If the wallpaper was installed professionally, you will find most of the wallpaper is going to come off clean. If the wall covering does not come off in some areas, you will then need to spray those areas with water or use a wallpaper steamer.
Sand the Walls and Prime:
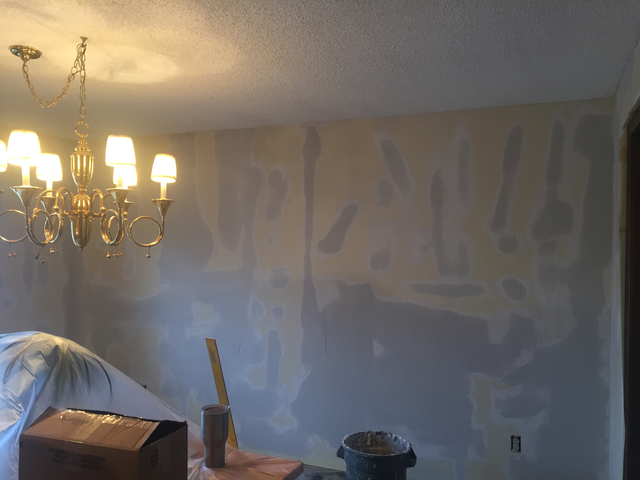
Now that the walls are clean of the wallpaper, it is time to sand them down. You will notice there is a texture on the gypsum board and more times than not, that texture is the glue from hanging the wallpaper. This glue needs to be sanded down, making the wall smooth again and then primed. When priming, you will need to use a drywall repair and sealer primer, as we have found that the mud better adheres to it, making the next step much easier! We also recommend that you allow the primer to cure for 24 hours, over our years of doing this, we have found the end product looks exponentially better when allowed to cure for this long.
Mud damaged Areas of Walls:
When removing the wallpaper you will notice imperfections and damaged areas in the wall. Those areas of the wall will need to be mudded. If the wall was excessively damaged, it may be necessary to mud and float the complete wall.
Sand Walls and Prime:
You are now nearing the end of the preparation of the wall! When your mud has completely cured, you will then go back and sand those areas flush with the wall, creating a smooth wall. Once all sanding is completed, it is best to apply one coat of drywall primer to the walls.
Apply Two Coats of Finish Paint:

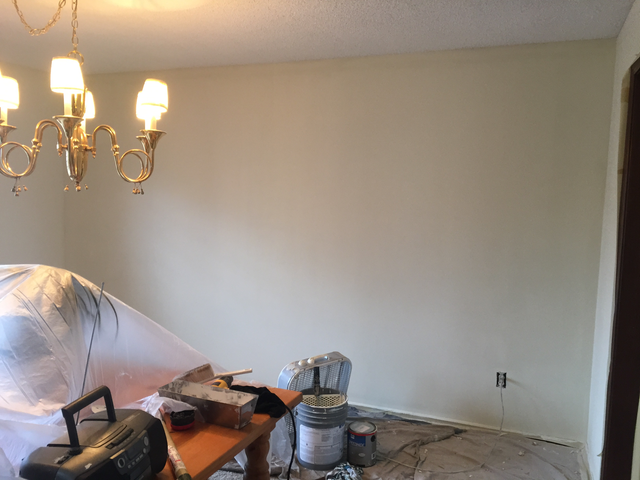
Now that you have smooth, primed walls, it’s time for the finish touch, two coats of paint! Over the many wallpaper removal projects we have completed, we have found it is best to apply an above average finish paint to the walls due to its thicker nature and better color coverage.
And with those five steps, your walls will look like new! Wallpaper removal does require a variety of skills and therefore we recommend you contact a local professional painting contractor to either assist you in the removal process or complete it for you.
Major Painting is a commercial painting contractor based out of Kansas City, MO specializing in maintenance painting for property and facility managers. All information in this blog post was learned through experience, therefore please note there are many different approaches to wallpaper removal. Major Painting finds this to be a proven, successful approach. Contact us for any questions regarding your project!
About the author
Chase DeRousse is the Vice President of Painting at Major Painting and strives to deliver quality craftsmanship coupled with superior customer service, creating a unique and pleasant experience for all Major Painting customers, no matter the size of the project. Chase also holds an active Class A General Contracting License.
Chase has won multiple accolades recognizing his leadership and excellence in the painting industry including awards from the Painting Contractor Association (PCA), Business Owners and Managers Association (BOMA), and Institute of Real Estate Management (IREM).